Learn How to Fit Wall Trims and use of Elastoform Tape on Wall Ends with this video and step-by-step installation guide.
How to Install Wall Flashing Trims Video and Installation Guide


Step by Step Installation Guide
-
Grind A Slot In The Wall

Chase out a slot in the wall using a mortar chisel or angle grinder. (Wall trims or lead flashing should always be a minimum of 150mm from the roof deck.
-
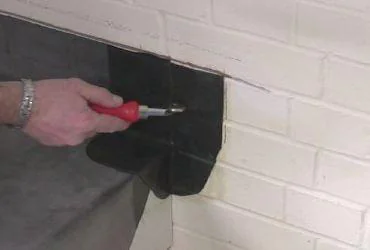
Trim Excess Rubber Membrane
After fitting the rubber membrane (Follow Main Installation Guide) trim excess membrane using a sharp knife following the chase out in the wall.
-
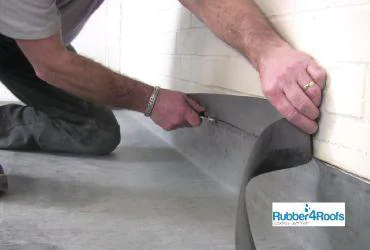
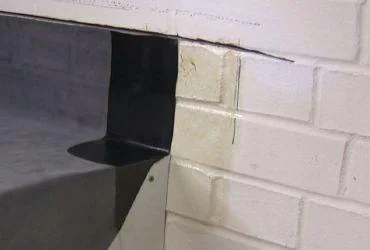
Cut Membrane At End Of Wall

Cut the rubber membrane vertically or at an angle away from the corner using a sharp knife.
-
Cut Elastoform Tape To Size
Cut Elastofrom to size. The tape should be a minimum of 150mm wide and extend from the chase out on to the deck and along the roof a minimum of 75mm (3"). Standard size of tape required 225mm x 150mm per end
-
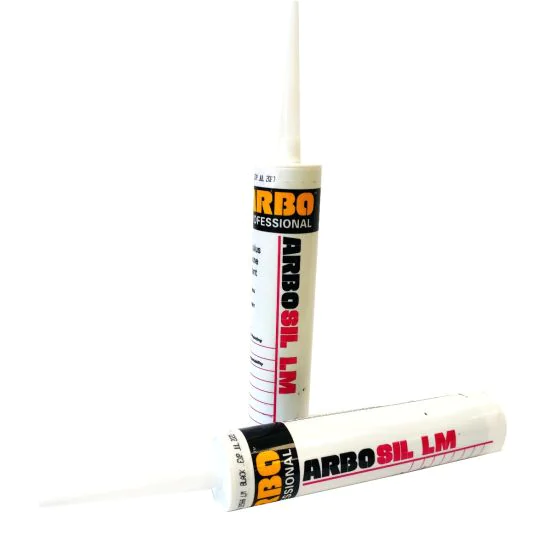
Apply Rubber Primer
Apply rubber primer and allow to dry.
-
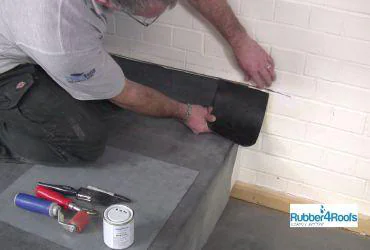
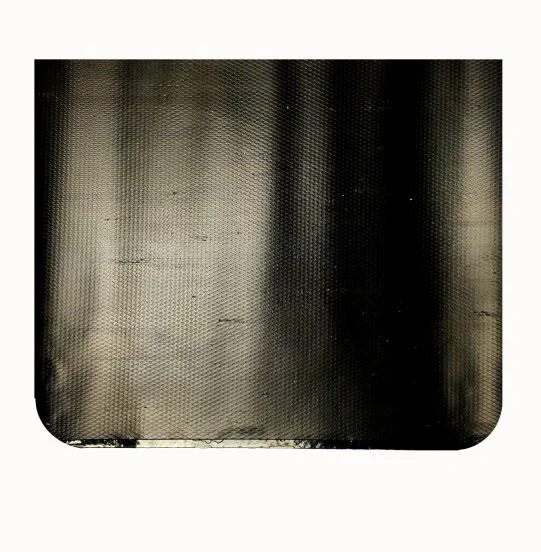
Install Elastoform Tape

Install Elastoform Tape starting at the top of the wall.
-
Mold Elastoform Tape Into Position

Mold Elastoform tape in to position by stretching the tape where necessary. TIP: Keep the tape in a warm place prior to use this will help its formability.
-
Apply Pressure To Elastoform Tape
Apply pressure to Elastoform tape using silicon seam roller and penny roller.
-
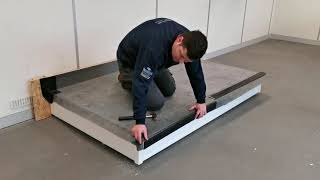
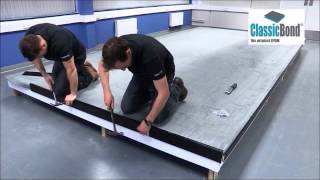
Install Wall Trim

Install wall trim in to the slot. Additional wall trims should be overlapped by a minimum of 75mm (3").
-
Drill Wall Trim
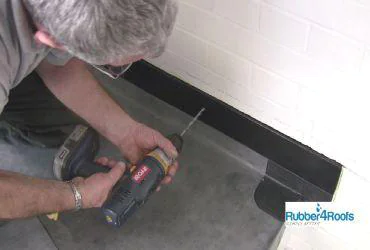
Drill wall trim and wall with a 7mm masonry drill.
-
Insert Raw Plug

Insert raw plug in to the hole.
-
Screw In Fastener
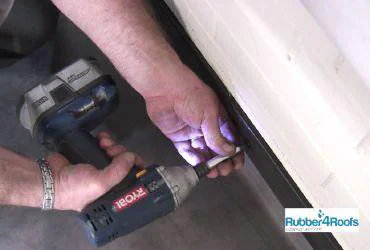
Screw in perimeter fastener using hex bit and drill. 3 fasteners are provided with each wall trim. Install one at each end and one in the middle.
-
Apply Lap Sealant to Wall Trim
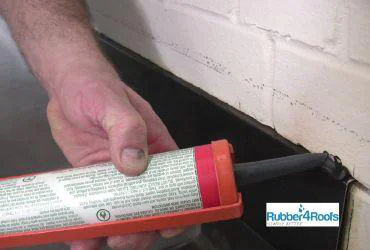
Apply Lap Sealant to Wall Trim.
What you'll need


- Stanley Knife
- 9 Inch Elastoform Uncured Tape
- Rubber Primer
- Professional Seam Roller
- Brass Penny Roller
- 7mm Masonry Drill
- Hammer Drill
- Raw Plugs
- Screw Gun with Hex Head