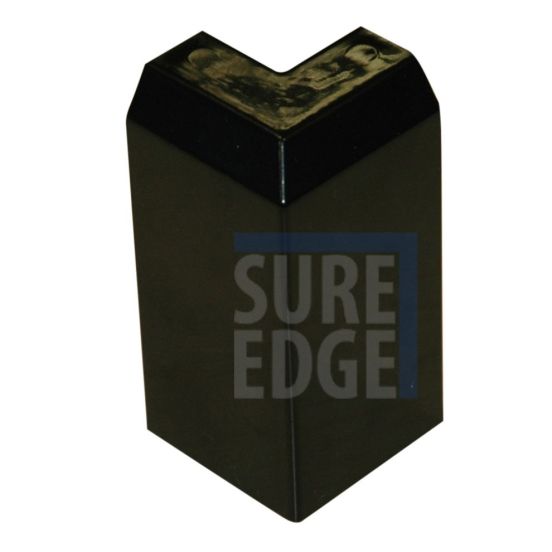
How to install Sure Edge Kerb Corners to EPDM flat rubber roof
How to install Sure Edge Kerb Corners
Step by Step Installation Guide
-
Hold the trim in place with downward pressure to ensure a watertight seal

Hold the trim in place with downward pressure to ensure a watertight seal
-
Secure the trim with 50mm Polytop nails

Secure the trim with 50mm Polytop nails
-
Use the predrilled fixing holes to help ensure correct spacing

Use the predrilled fixing holes to help ensure correct spacing
-
Remove the corner blanking plates

Remove the corner blanking plate
-
Apply superglue to one inside edge of the check kerb corner component

Apply superglue to one inside edge of the check kerb corner component
-
Apply the Activator to the corresponding trim corner

Apply the Activator to the corresponding trim corner
-
Hold the corner component in place until it is secure

Hold the corner component in place until it is secure
-
You're finished. A Job well done!

You're finished. A Job well done!


