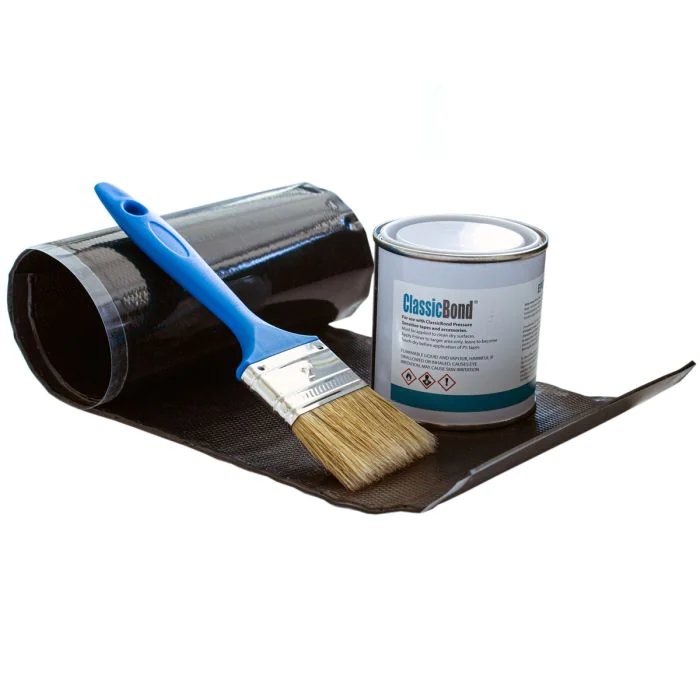
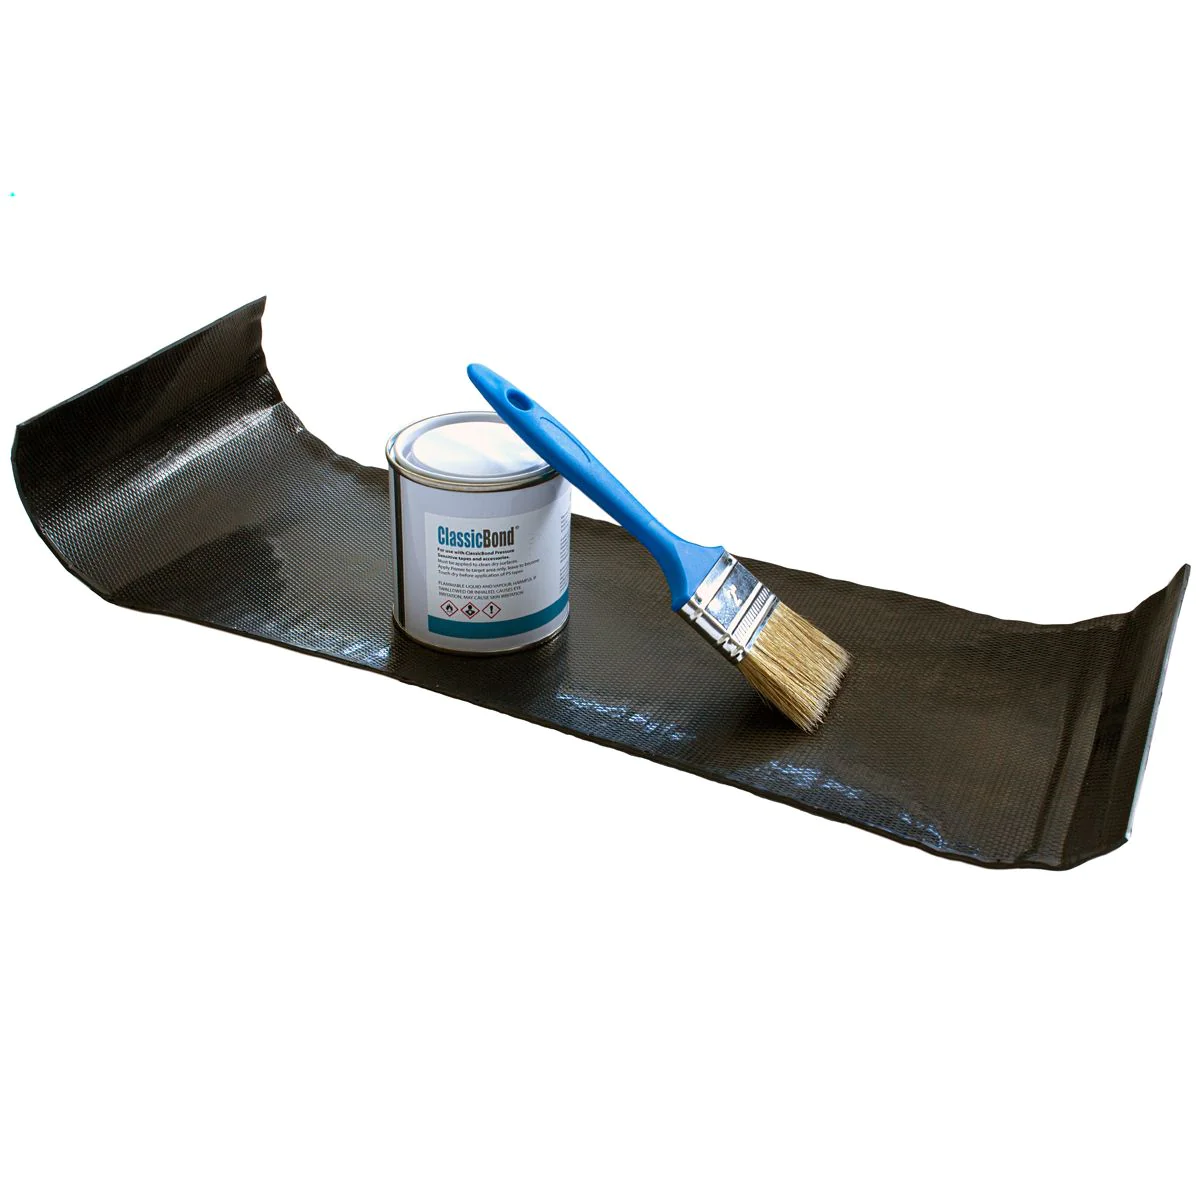
EPDM Roof Repair Kit

In stock
£16.92 £14.10

Delivery From £15 for all Standard Flat Roofing Materials.

Used For: Used to repair punctures and damage to EPDM rubber roof Membranes

Kit Includes: 

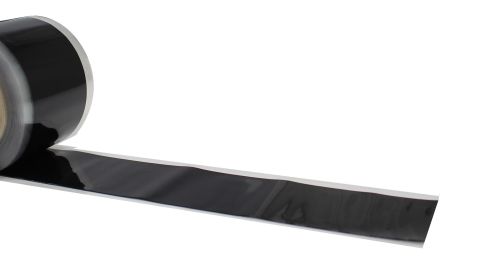
  •  0.5m of 6 inch Cover Tape 

  • 1x 250ml EPDM Primer 

  • 1x Brush to apply primer 

Installation Notes:

  1. Clean area around the damage with either EPDM cleaner or soapy water 
  2. Loose lay the  patch over the area to be repaired and using a marker create an outline on the membrane
  3. Apply Primer to this marked out area and  allow to dry (5-10 mins depending on ambient temperature) 
  4. Remove plastic and apply patch to primed area (Shiny side down) 
  5. Use seam roller to apply pressure to entire patch and ensure good adhesion 


An Overview
SKU cb-repair-kit
Stock Type Warehouse Fulfilled
Brand Name ClassicBond
System Compatability
  • ClassicBond
    Tooltip
  • ClassicBond Pro
    Tooltip
Downloads
Questions & Answers (3)

My roof has a small hole which is causing a leak, how easy is it to repair this?

One of the most evident benefits of EPDM rubber roofing is that it can be repaired very quickly and easily, allowing you to catch a problem before it turns into something much bigger! Supplied as a 6 inch strip, any small hole or rip can be sealed effectively with our repair patch kits. This easy-to-use patch, primer and brush combination will ensure you can safely patch any minor damage to the roof.

Link to the kit here!

Can EPDM Withstand Hard Impacts From Outside Conditions? Such As Branches Falling On It Or A Bird Pecking On It?

Along with a life expectancy of 50 years and beyond, EPDM rubber can stand up to quite some force from outside elements, in our video below we explore what different objects falling on the rubber will do to it and how much damage it takes to actually penetrate the membrane! Prepare to be surprised!

Why Have Bubbles Appeared On The Edge Of My Newly Laid EPDM Rubber Roof?

Occasionally, bubbles and blisters can appear around the perimeter of the EPDM rubber roof just after it's been fitted. There are a few reasons why this can happen, the Contact Adhesive could have been applied too thick, or if it has not been allowed enough time to properly tack-off. Luckily, we can share a few tips to help avoid this potential problem, check our video for an in-depth explanation.

You might want these instead
Back to top