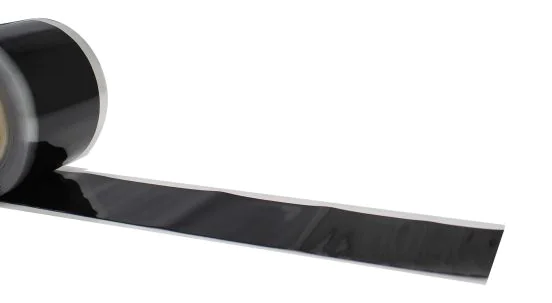
A Guide to Joining Rubber to Rubber Using 3" Splice Tape
How to Join two pieces of EPDM


Step by Step Installation Guide
-
Overlap the two rubber membranes by 75mm (3inches)

Overlap the two rubber membrane sheets to be joined by 75mm (3inches).
It is common on long runs to overlap the two sheets by more than 3" and then cut back the top sheet of rubber membrane once the splice tape has been stuck to the bottom sheet.
By installing the Splice Tape prior to cutting back the top sheet variations in tape position can be allowed for.
-
Mark Overlap on Bottom Sheet

Mark 8-10mm out from the top sheet edge as a guide for applying primer.
-
Use Rubber Primer on rubber membrane

Use Rubber Primer on rubber membrane.
-
Apply Rubber Primer

Apply rubber primer in long even strokes using the line marked as a guide. The primer should extend a minimum of 8-10mm past the top sheet edge.
Make sure the primer does not puddle. -
Apply Primer to Top Sheet

Apply EPDM rubber primer to back of top sheet of EPDM.
-
Ensure Primer is Touch Dry

Ensure Primer is Touch Dry and does not string when finger is removed.
-
Apply Splice Tape To Bottom Sheets

Apply splice tape to bottom sheet ensuring that primer is still visible along edge. Attach splice tape to one end and line through by eye before smoothing the splice tape in to position.
-
Cut Splice Tape and Fold In To Upstand

Cut the splice tape and smooth in to the angle change of the upstand making sure that the tape follows the angle change. A 150mm cover tape will be installed over the angle change so dont worry if you have a small gap between the two rubber membranes.
-
Allow Top Sheet to Fall Back In To Position

Allow top sheet to fall back in to position. 2 to 8mm of splice tape should be visible. Cut back the top sheet if necessary.
-
Remove Splice Tape Release Film

Remove the splice tape release film by pulling at an angle and smooth the top sheet on to the tape being careful not to trap air in the join.
-
Remove Release Film From Upstand Section

Fold back the top sheet of the rubber before removing the release film.
Remove the release film from the upstand splice tape
Carefully roll the top sheet back in to position paying special attention to the angle change. -
Apply Pressure To Splice Join

Use seam roller to apply pressure to new splice join.
-
Measure Upstand Height For T Patch

Measure upstand height and add 75mm (3Inches) to measurement.
-
Cut 6 Inch Cover Tape for T Patch

Cut 6" PS Uncured cover tape to size and round of corners.
-
Mark Position of Cover Tape

Mark position of Cover Tape ready for primer. Ensure primer is applied a minimum of 8-10mm past covertape edges.
-
Apply Rubber Primer and Ensure Touch Dry

Apply rubber primer to marked area and allow to dry before installing 6" cover tape.
-
Install T Patch

Install T-Patch and apply pressure with silicon seam roller.
T Patches are installed wherever splice tapes intersect with other joins or on splice tape angle changes. The cover tape is used because it has the ability to mould better in to angle changes and therefore create a waterproof seal. -
Install Wall Trim

Install Plastisol Wall Trim if necessary.
-
Apply Lap Sealant to Wall Trim

Apply Lap Sealant to Wall Chase and Plastisol Wall Trim.