A complete step-by-step guide to Installing a Rubber Roof and Edge Trims on A shed
How to Install an EPDM Rubber Roof for a Shed
Step by Step Installation Guide
-
Prep your Shed Roof

New Building
If you have received this EPDM waterproof membrane as part of a new building please follow the instructions below.Re-cover Existing Building
If you are replacing an existing roof covering, carefully remove the timber facias previously used to secure the edge of the old roof covering, this will be re-used unless you plan to fit new timber. Remove the old felt, any nails, sharps and repair any rotten roof timbers. You are now ready to follow the instructions below. -
Relax Rubber Membrane

Unpack the roof membrane and carefully position over roof deck allowing it to hang over the roof on all sides. Allow 30 minutes for the membrane to relax
-
Fold or Roll the Membrane back

Tightly roll or fold back one half of the rubber membrane to expose the roof deck.
Secure the rubber membrane to the roof using gaffa tape if the membrane tries to move out of position.
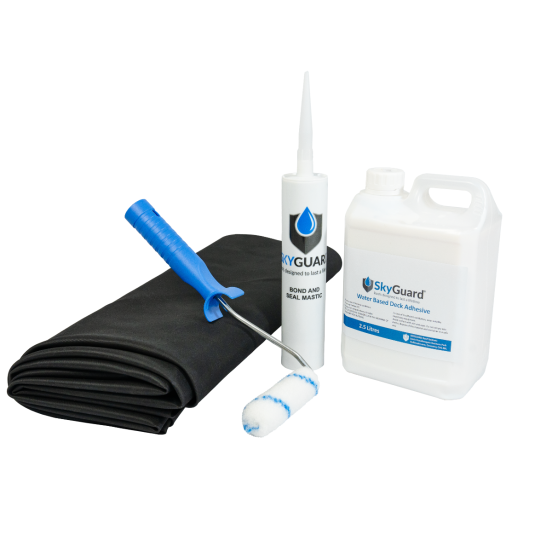
Using an old paint roller apply the water based deck adhesive to the roof deck.
Apply the adhesive in small stages working from the ridge to the bottom edges. THE ADHESIVE MUST BE WET WHEN THE RUBBER MEMBRANE IS FOLDED BACK IN TO POSITION
-
OPTION 1 - Secure edges with Clout Nails

OPTION 1 - Secure the edges of the rubber membrane with clout nails.
-
OPTION 2 - Secure edges with a treated Timber Batten

OPTION 2 - Clamp the rubber membrane around the edge of the roof using a treated timber batten.
-
OPTION 3 - Secure edges with a Shed Roof Edge Trim

OPTION 3 - Secure edges with a Rubber4Roofs Shed Edge Trim using screws provided. (Install a timber batten on the underside of the roof deck prior to installing the rubber membrane if required. This will give you something solid to screw into when you fit the edge trims)


