A Step by Step Guide and Video of the Self Adhesive Resitrix roofing membrane being installed on a flat roof
How to Install a Resitrix Flat Roof Video and Installation Guide

Step by Step Installation Guide
-
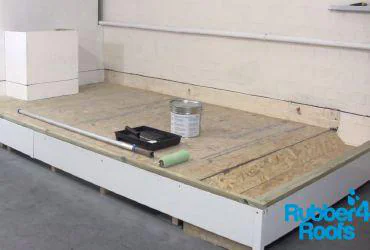
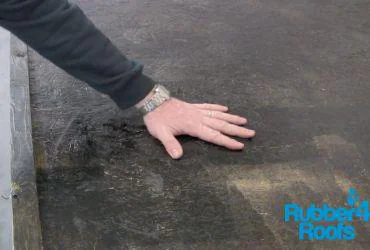
Deck Preparation

The roof deck should be clean and dry. Refer to installation manual for preparation of different substrates such as felt and asphalt overlays and bonding to metal decks.
-
Stir FG35 Primer

Stir the FG35 Primer. FG35 primer should be kept in a warm room prior to installation if the weather is cold. This will help achieve a consistent even coverage.
-
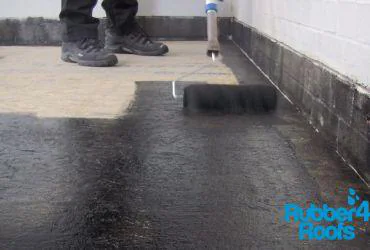
Apply FG35 Primer

Apply the FG35 primer evenly using a medium pile roller. Always ensure primer is applied to the perimeter and upstands of the roof first before coating the main roof area. (50% coverage of the centre of the roof is acceptable using a checker board pattern)
-
Allow FG35 Primer To Dry

Allow the primer to fully dry before laying the membrane this could take between 30 minutes and 1 hour. Never prime an area bigger than the area to be covered in one day
-
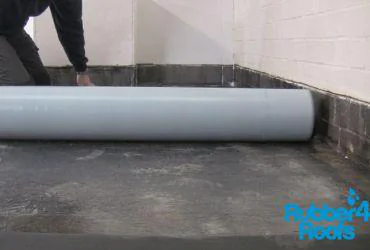
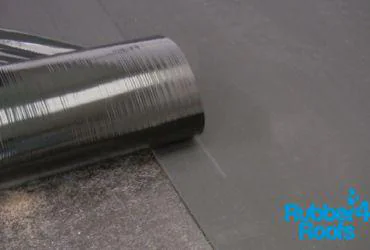
Roll out the Rubber Membrane

Roll out the rubber membrane taking note of the non adhesive lap when laying out adjacent sheets
-
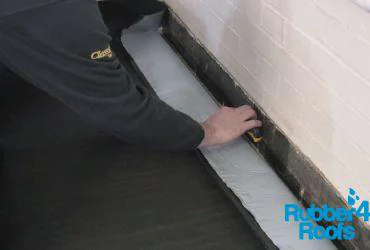
Score Release Paper

Position the membrane against any upstands and score the release paper as this will be removed at a later stage.
-
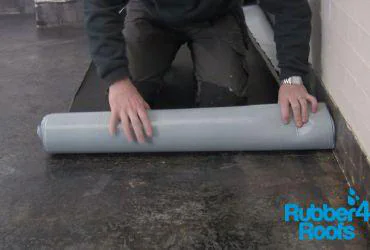
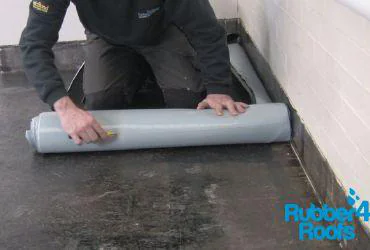
Roll the membrane back half way

Once the membrane has been positioned roll the membrane back to the centre of the roof so that the release paper can be removed.
-
Score Release Paper

Score the release paper with a sharp craft knife.
-
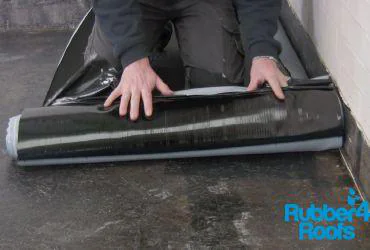
Remove Release Paper

Remove the release paper whilst rolling the membrane back in to position
-
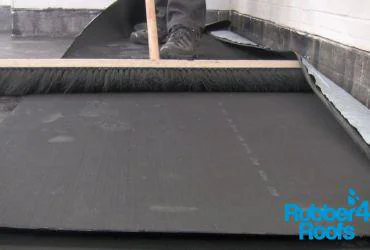
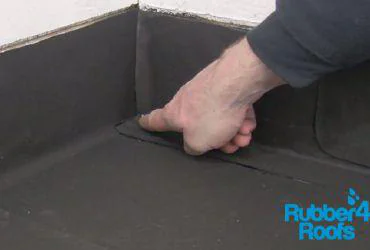
Broom the Membrane

Use a broom to ensure that the membrane has full contact with the primed deck
-
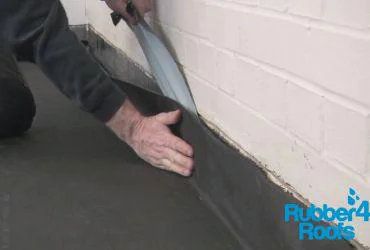
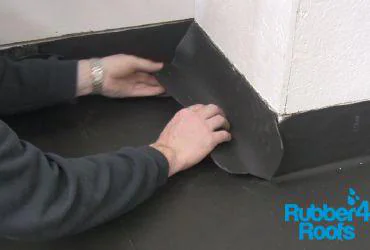
Bond to Upstands

Bond membrane to upstands and walls by removing the release paper.
-
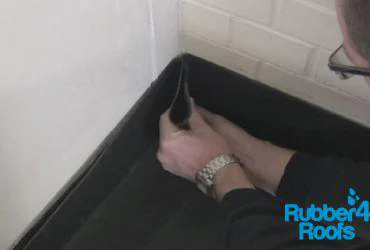
Form Internal Corner

Form internal corner. It is often best to remove the release paper in stages leaving the paper inside the pigs ear till last to be removed. There is more than one way to waterproof an internal corner please see the second option later in the guide.
-
Repeat Process for Additional Rolls

Repeat process for adjacent membrane sheets
-
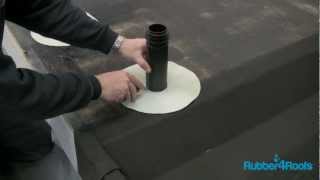
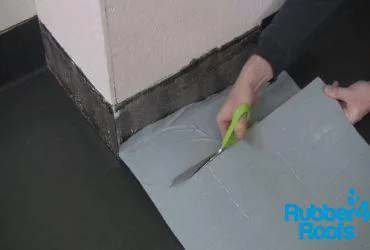
Cut Membrane Around Roof Details

Cut the membrane to length and around roof details
-
External Corner Detail

Additional self adhesive sheets can be used to waterproof upstands. Ensure sufficient membrane is allowed for to give a 50mm overlap on the deck membrane and adjacent corner membrane.
-
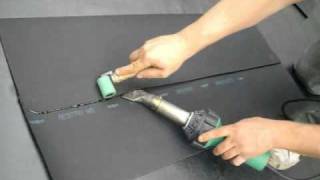
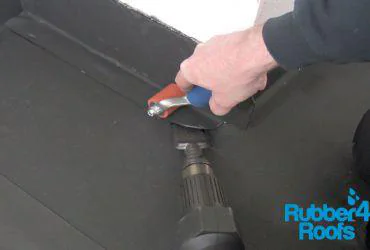
Heat Weld Membrane Overlaps

Heat weld any membrane overlaps prior to installing corner patches.
-
Heat Weld Corner Flap

Heat weld the flap used to wrap around the external corner.
-
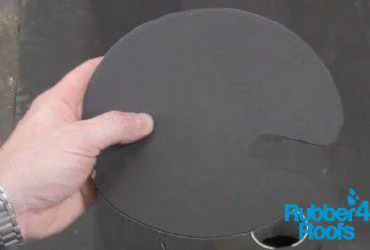
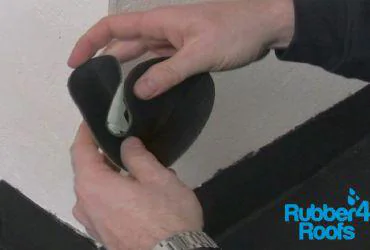
Installing Corner Patch

Cut a circular corner patch and cut out a finger width section from the circle, rounding off any corners.
-
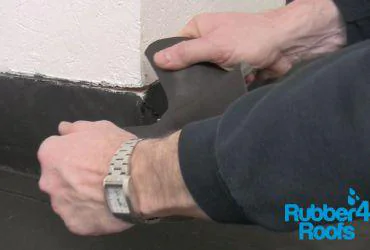
Break the Glass Fibre Reinforcement strands

Stretch the corner patch to break the integral reinforcement strands. You will hear them break and this will allow the membrane patch to cover the corner.
-
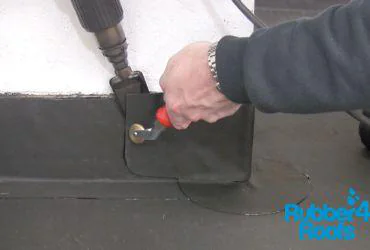
Heat Weld Corner Patch

Heat weld the Resitrix corner patch.
-
Cover External Corner

Heat weld an additional piece of Self Adhesive membrane over the upstand and corner patch
-
Internal Corner Option 2

Where two separate sheets of membrane terminate at an internal corner it will be necessary to install a corner patch.
-
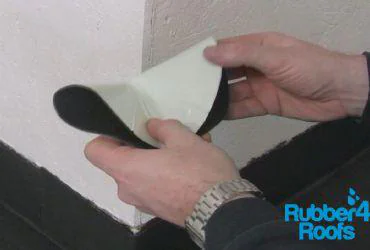
Form the Internal Corner Patch Step 1

Fold the circular patch in half
-
Form the Internal Corner Patch Step 2

Fold the patch again in to quarters and release one of the folds to form a pocket
-
Heat Weld Internal Corner Patch

Heat weld the internal corner patch
-
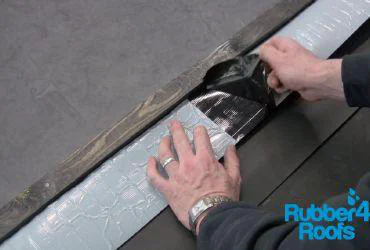
Remove release paper from edge

Remove the release paper from the section of membrane that will be used to form an upstand kerb over the roof edge batten.
-
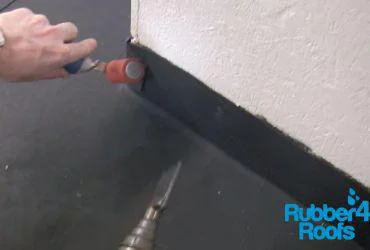
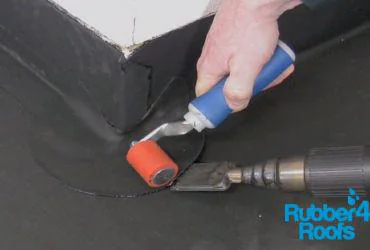
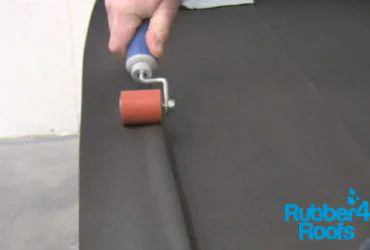
Use Seam Roller to Form Membrane on Corners

Use a seam roller to mould the membrane to edge detail ensuring 100% bond on angle changes
-
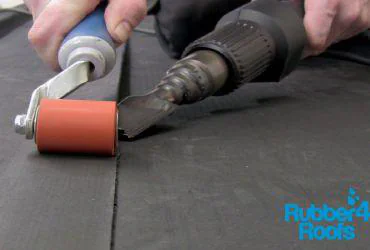
Heat Weld Membrane Laps

Heat weld Resitrix membrane laps. Ensure a 2" 50mm gap is maintained between the heat gun nozzle and seam roller for a consistent weld. Excess pressure should not be required to create a bleed
-
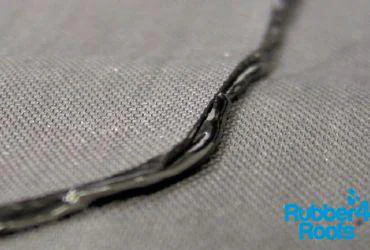
Good Heat Weld

A good heat weld is indicated by a bleed out of the molten polymer bitumen from the bottom of the top sheet being welded
-
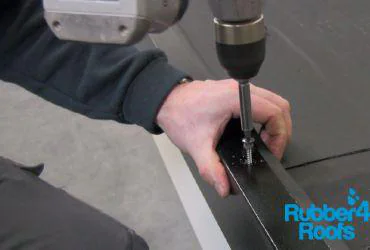
Install Edge Trims

Install flat roof edge trims using the installation guide relating to your chosen roof trims
-
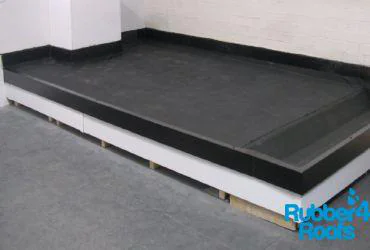
Completed Installation of a Resitrix Flat Roof

Completed installation of a Self Adhesive EPDM flat roofing membrane


What you'll need
- Self Adhesive EPDM Primer FG35
- Harris Roller Set
- Sharp Stanley or Craft Knife
- Soft Bristle Broom
- Professional Seam Roller
- Steinel Heat Gun Tool Kit