Step By Step Guide Showing Installation and Welding of the Self Adhesive Outlets
How to Install a heat weldable drain outlet

Step by Step Installation Guide
-
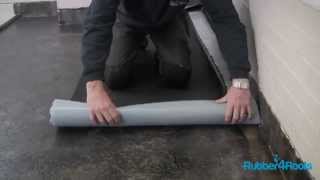
Install Self Adhesive Membrane

Install the self adhesive membrane as per our instructions. Locate the outlet hole and cut the membrane ready to accept the outlet spigot
-
Star Cut to Create Hole

Star cut to create a hole and fold the flaps down in to the down pipe.
-
Score Release Paper

Score the outlet release paper once before installing as this will make it possible to remove in the following steps.
-
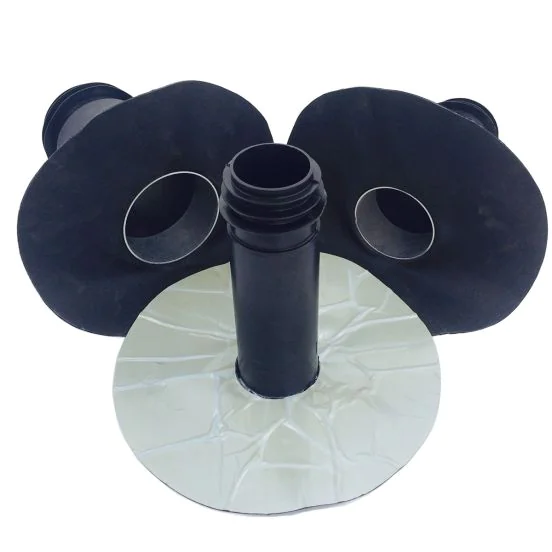
Insert the Drain Outlet

Insert the Drain Outlet
-
Remove Release Film from Outlet Flange

Remove Release Film from Outlet Flange.
-
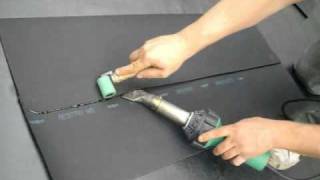
Heat Weld the Inside of the Flange

Heat weld the Inside of the Flange.
-
Heat Weld the Perimeter of the Flange

Heat weld the perimeter of the flange using the heat gun and seam roller.