Sprayable Contact Bonding Adhesive
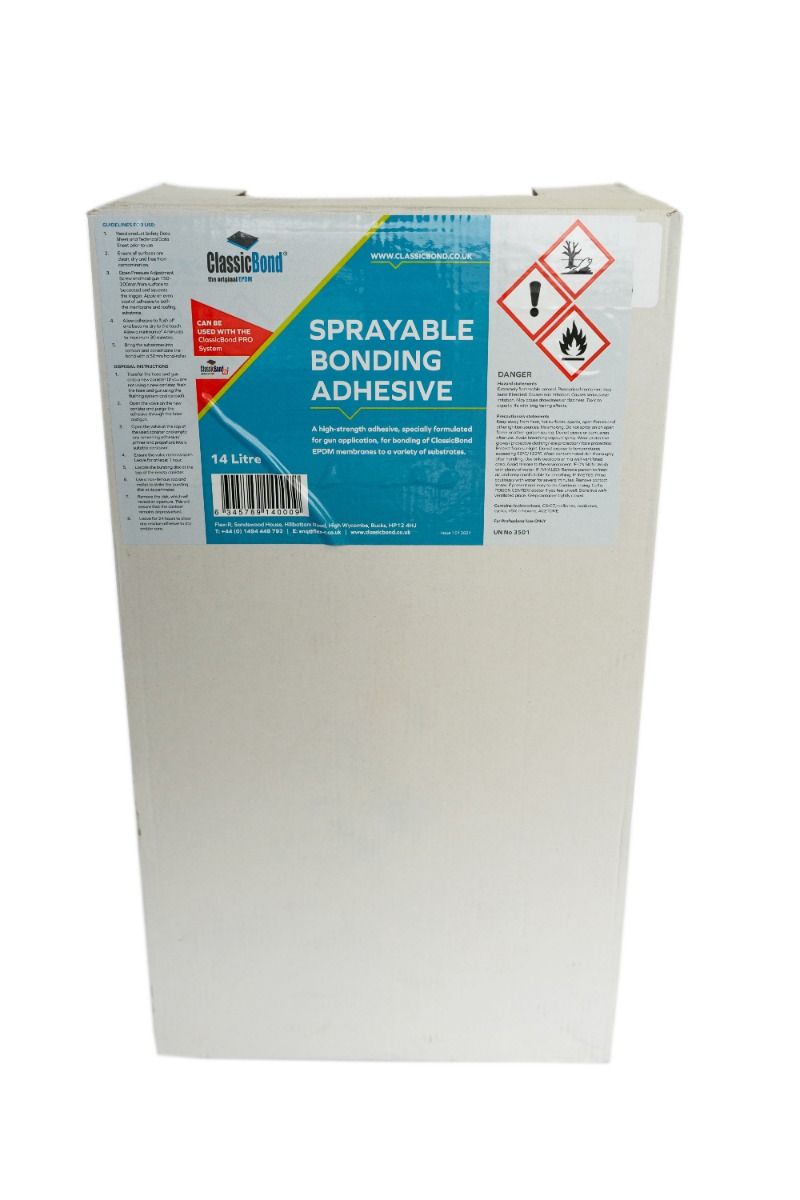
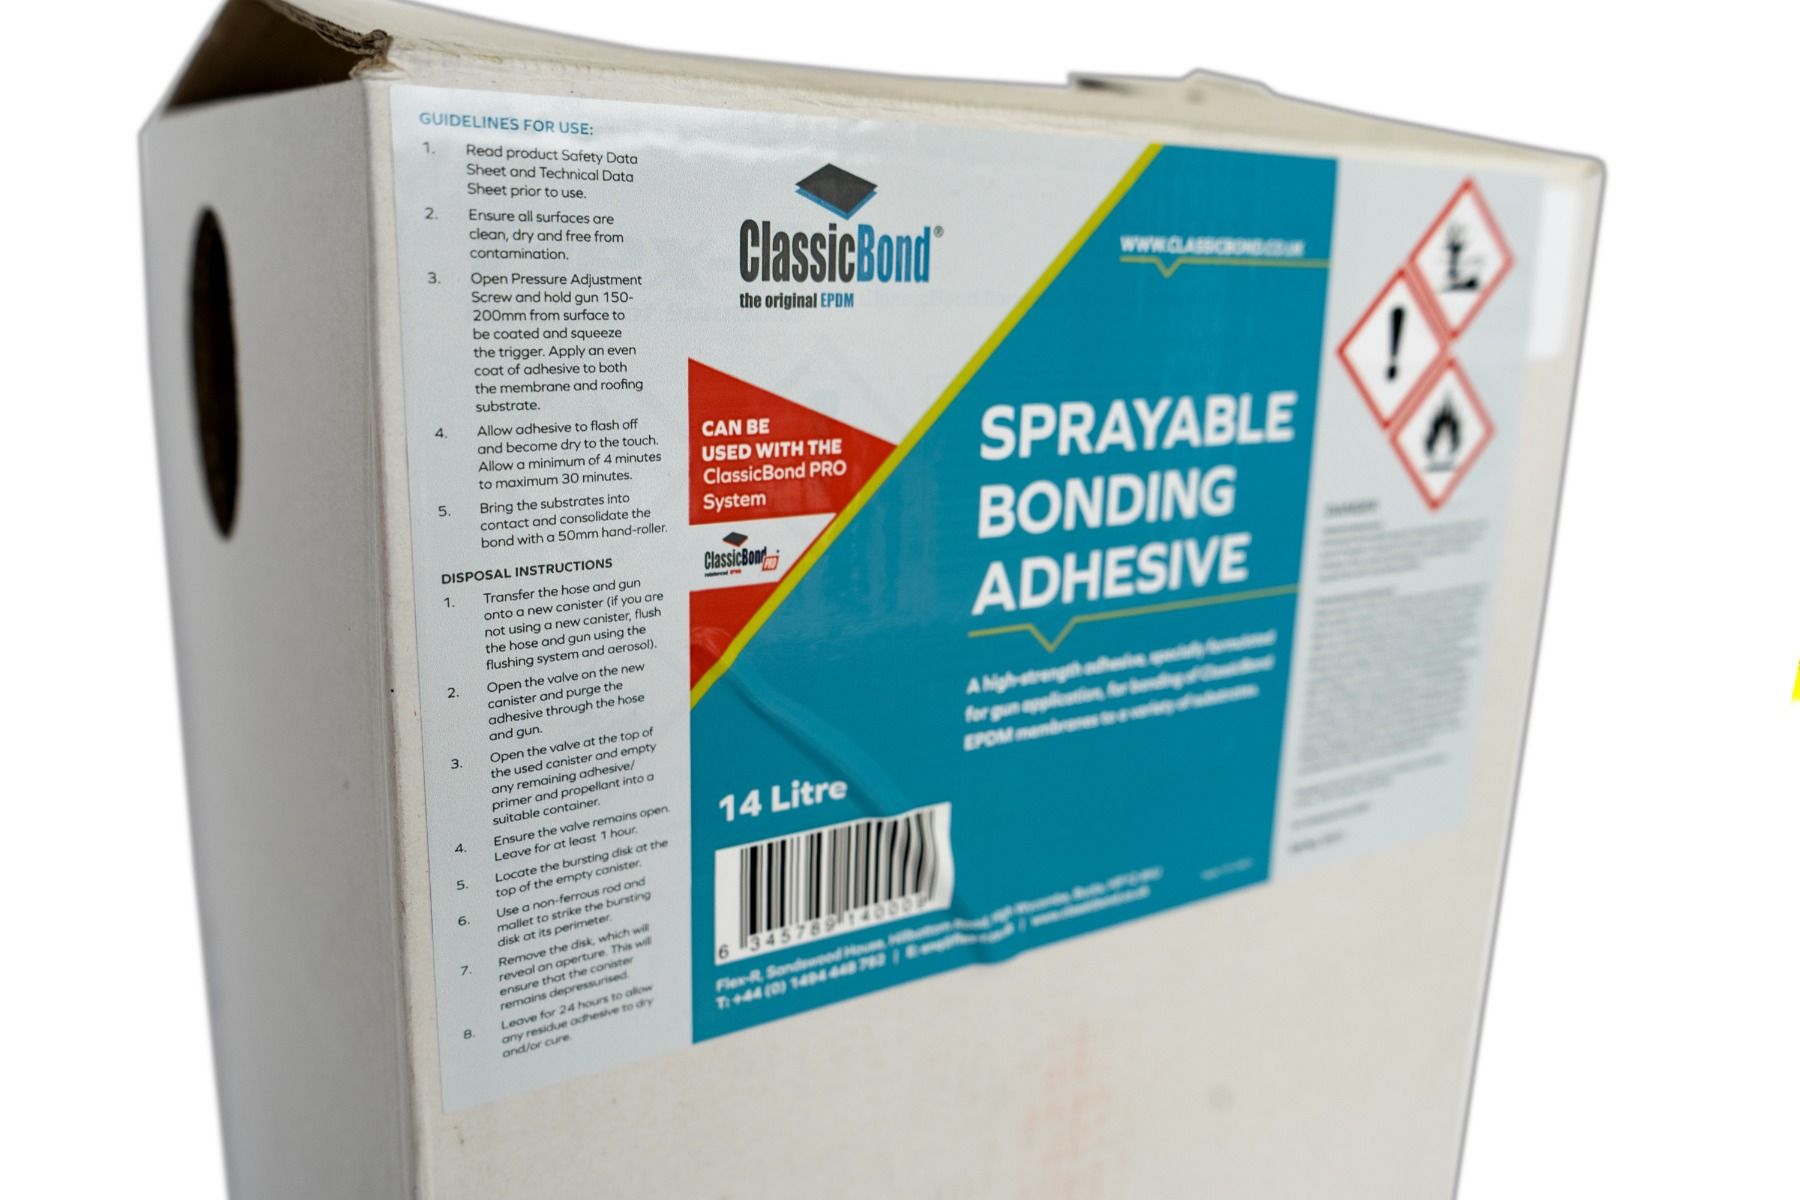
ClassicBond Sprayable Contact Bonding Adhesive
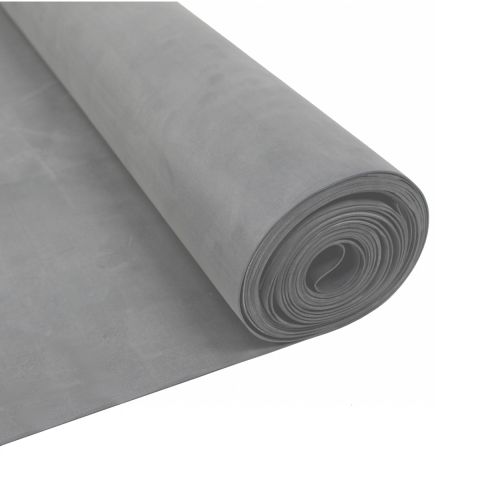
Used For: Adheres ClassicBond rubber membrane to most materials. Used on up-stands and vertical surfaces
To Be Used With: SPB Spray Gun & Tip bundle and SPB Spray Hose 4M
Size: 22 Litres (Coverage up to 60-70 sqm) / 14 Litres (Coverage up to 38-45 sqm)
Coverage: 2.7-3.7 m2 per Litre when applied to both sides (depending on surfaces)
Advantages of traditional Contact Bonding Adhesive:
- Up to 6 times faster application time
- Up to 4 times faster drying time
- Increased operating window
- Zero Waste
- Up to 3 square metres per canister
Application Up-stands: Spray the contact bonding adhesive onto the upstand and the back of the membrane from a distance of 100mm-150mm. It is also good practice to secure the membrane to the deck perimeter with a 150mm width strip of contact adhesive. Ensure that the contact adhesive is touch dry before rolling the membrane onto the substrate/up-stand.
Application Non-Permeable Deck: Spray the adhesive onto both the deck and underside of the membrane evenly from an approximate distance of 100-150mm. Ensure that the contact adhesive is touch dry before rolling the membrane onto the deck.
Note: It is not possible to re-position the membrane once stuck down using contact adhesive.
Installation Tip: Allow sufficient time for the contact adhesive to become touch-dry depending on weather conditions. If the membrane is bonded whilst the contact adhesive is still wet, you may notice air bubbles appearing under the membrane. These will disappear within a short period of time due to the rubber roofing membrane being partially breathable.
| SKU | CB-Spray-Contact |
|---|---|
| Stock Type | Warehouse Fulfilled |
| Brand Name | ClassicBond |
| System Compatability |
|
If you're buying for a new roof or replacing an old one, you will need to consider the following components.
- Adhesives
- Tapes
- Drains
- Edge Trims
- Tools
-
 ClassicBond® 1.5mm EPDM Rubber Roof MembraneFrom: £8.59 £7.16


