How to Install a Rubber Roof Over an insulated Warm Deck Roof
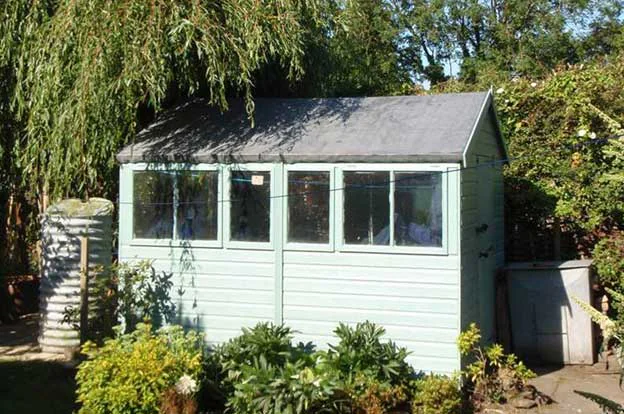
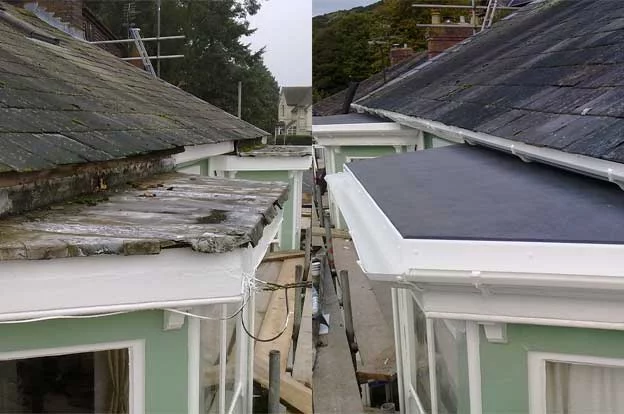
There is nowhere better than a dormer to fit an EPDM rubber roof! Dormer roofs are difficult to get to due to their height so its essential that you have a long lasting roofing system such as an EPDM rubber roof membrane.
Step 1 - Remove Loose Roofing Materials.
The existing roof covering can be kept in place if the roof deck is in good condition. Remove any loose gravel or debris from the roof. If necessary remove the felt drip edges and arris rails. If the existing roof deck is rotten then the affected areas must be replaced with new ply or OSB3 board with a minimum thickness of 18mm depending on joist spans.
Detailed Roof Preparation Guide
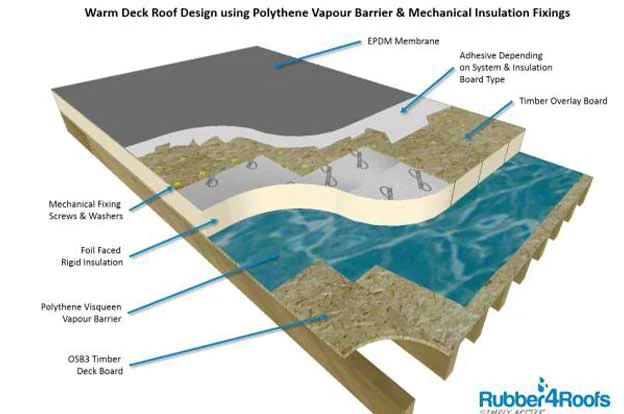
Step 2 - How to Install Warm Deck
We believe the most cost effect solution for upgrading your flat roof insulation is to install standard foil backed insulation directly onto the old roof covering. The existing roof felt will act as a vapour check membrane.
Detailed Warm Deck Guide
Step 3 - How to Overboard Insulation
The insulation can be over-boarded with a 12mm or 9mm OSB3 (Stirling board) or ply board. Remember if you are removing the existing roof covering and replacing the existing roof deck boards this should be done with a minimum board thickness of 18mm depending on joist spans. Make sure that the fascia is extended to accommodate the new insulation depth. Depending on edge trim choice it may be necessary to install a timber behind the fascia to give the trim pins a solid surface to fix in to.
Step 4 - How to Secure The Flat Roof Deck Boards
The new roof deck boards and insulation can now be secured with the correct length screws. The screws will need to be long enough to pass through the 9/12mm roof board, insulation, old roof covering and secure in to the original roof deck or joists. Care should be taken to ensure screws are the correct length hidden electric cables and water pipes may pass through the roof void.
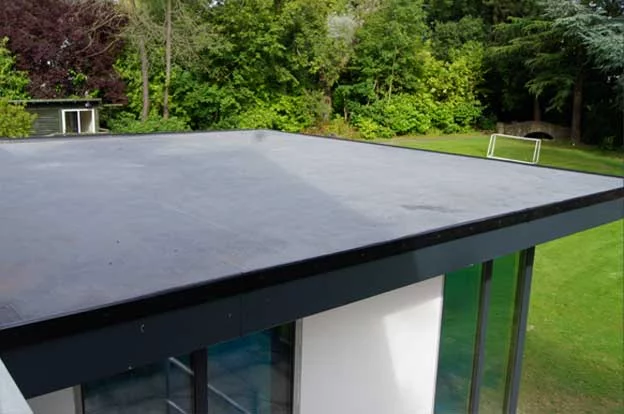
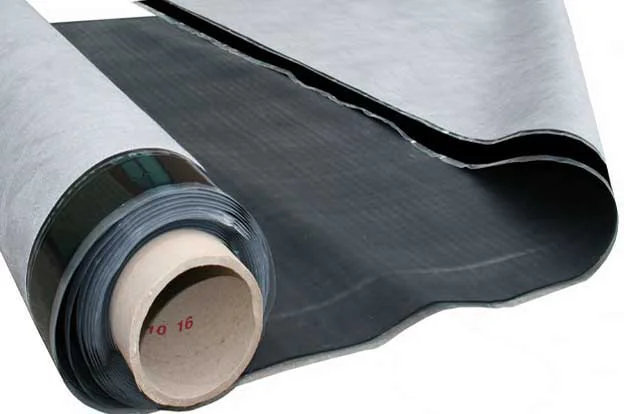
Step 5 - How to Relax The Rubber Membrane
Unpack the rubber membrane and lay out on the new roof deck to relax for a minimum of 30 minutes. This will help any creases drop out of the rubber membrane prior to bonding.
Step 6 - How to Apply the Rubber Membrane Water Based Adhesive
Starting at one edge roll the rubber membrane tightly towards the centre of the roof deck. The water based adhesive can be applied evenly using a paint roller in strips and the rubber membrane rolled back out working towards the edge of the roof whilst the adhesive is still wet. It is not necessary to apply all of the adhesive in one go as it may dry out before the rubber roof is rolled back in to position. Do not apply the water based adhesive right to the edge of the roof. Leave a 150mm strip bare ready for the contact adhesive.
Step 7 - How to Apply Contact Adhesive
Apply the contact adhesive thinly to both the roof deck, any up-stands and the back of the rubber. A Mini roller or paint brush can be used. Make sure the contact adhesive is touch dry prior to rolling the rubber roof back in to position. The contact adhesive can take anywhere from 2 minutes to 15 minutes to become fully touch dry. If the rubber roof is rolled back in to position to early then bubbles/blisters will appear caused by the gas given off buy the drying contact bonding adhesive. These blisters will disappear within a relatively short period of time.
Detailed Contact Adhesive Guide
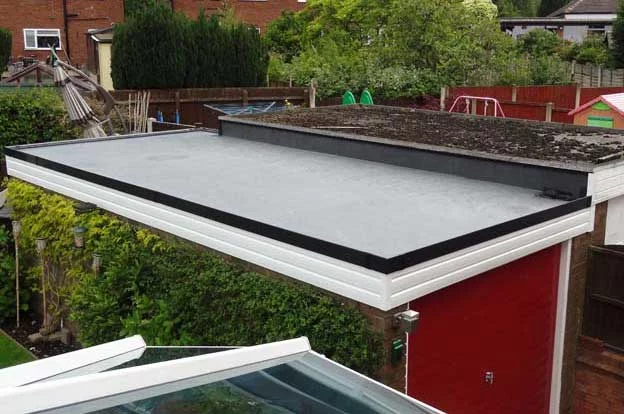
Step 8 - How to Fit Rubber Roof Edge Trims
The roof edge trims can now be fitted and the roof tiles nailed back in to position.